
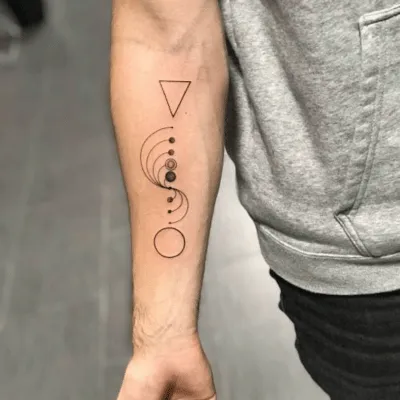
So you’ve just gotten an amazing new tattoo! Congrats on your fresh ink! But now comes the crucial part that many people overlook—proper aftercare. Those first few weeks after getting tattooed can make or break how your tattoo looks for literally decades to come. No pressure, right?
Don’t worry! I’ve got your back with this no-nonsense guide to keeping your tattoo looking vibrant and gorgeous, both during healing and for years afterward. Let’s dive into everything you need to know about babying that beautiful new body art!
Why Aftercare Matters (Like, Really Matters)
Your tattoo might look complete when you leave the shop, but here’s the thing—it’s actually an open wound with ink particles suspended in your damaged skin. How you treat that wound determines:
- How quickly it heals
- How much ink your skin retains
- The vibrancy of your final results
- Whether you’ll need touch-ups
Think of aftercare as the final crucial step in the tattooing process. Your artist did their part—now it’s your turn!
The First 24 Hours: Critical Care
These first 24 hours set the stage for your entire healing process. Here’s your hour-by-hour game plan:
When You First Leave the Studio
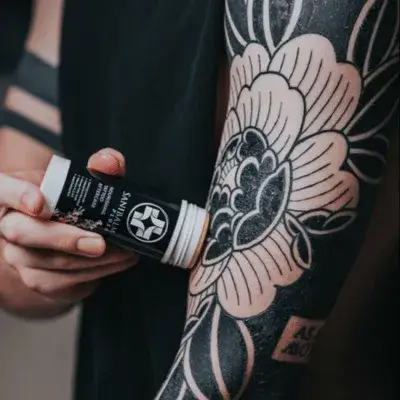
Your artist will have covered your fresh tattoo with something—either old-school plastic wrap, a medical-grade bandage like Saniderm/Tegaderm, or sometimes just a layer of ointment and paper towels.
- Keep that initial covering on for the time your artist recommends (typically 2-24 hours depending on the type of bandage)
- Don’t touch it! Your hands carry bacteria that you definitely don’t want in your fresh tattoo
- Take it easy and avoid activities that cause excessive sweating
First Cleaning (After Bandage Removal)
Once it’s time to remove that initial covering:
- Wash your hands thoroughly first (seriously, get in those finger crevices!)
- Gently remove the bandage (if it’s stuck, try running warm water over it)
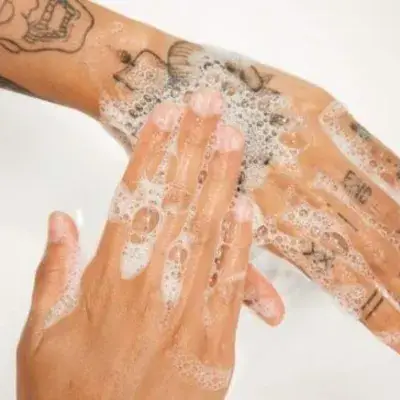
- Using lukewarm water and fragrance-free, antibacterial soap, very gently clean the tattoo
- Pat (don’t rub!) the area dry with a clean paper towel or let it air dry
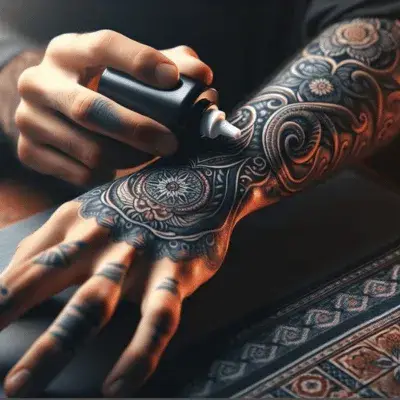
- Apply a very thin layer of appropriate ointment (more on that below)
That first wash might be a bit shocking—there will likely be ink, blood, and plasma mixed together making everything look like a mess. Don’t panic! This is completely normal.
Week 1: The Wet Healing Phase
During the first week, your tattoo is an open wound that needs to stay clean and moisturized:
Cleaning Schedule
- Wash your tattoo 2-3 times daily using the gentle method described above
- Always wash after sweating or the area getting dirty
- Use only your clean hands—no washcloths or scrubby sponges!
Moisturizing Magic
After each cleaning, apply a thin layer of one of these tattoo-friendly options:
- A&D Ointment (first 2-3 days only)
- Aquaphor (first 3-5 days)
- Fragrance-free lotion like Lubriderm or Eucerin (after the first few days)
Remember: more is NOT better! A thin layer means the product absorbs quickly leaving the skin slightly moisturized but not wet or shiny.
What to Avoid Like the Plague
During this first week, these are absolute no-nos:
- Soaking in water (no baths, pools, hot tubs, oceans, lakes)
- Direct sunlight exposure
- Tight clothing or anything that rubs against the tattoo
- Picking or scratching (even when it starts itching!)
- Heavy exercise that causes excessive sweating
- Pets sleeping on/near the tattoo (so much bacteria!)
Week 2-3: The Flaky, Itchy Phase
Around days 4-7, your tattoo will start entering the infamous itchy, peeling phase. This is when your patience is really tested!
What’s Happening
- The top layer of damaged skin dries out and begins to flake/peel
- The tattoo often looks dull and might even appear faded (don’t panic!)
- The itching can become intensely annoying
- Those flakes might contain some ink, but that’s normal surface ink
Your Game Plan
- Continue gentle cleaning 1-2 times daily
- Switch to lotion if you haven’t already
- Moisturize more frequently to combat dryness and itching
- Slap, don’t scratch – if the itch becomes overwhelming, lightly slap the area instead of scratching
- Wear loose clothing that won’t aggravate the itchiness
- Stay hydrated – drinking plenty of water helps skin healing from the inside out
SOS for Severe Itching
If the itching is driving you crazy, try:
- Cool compress (not ice, which restricts blood flow)
- Benadryl cream (but only if your tattoo isn’t open or weeping)
- Gentle fan or cool air blowing over the area
Weeks 4-6: The Home Stretch
By now, most of the visible healing is complete—the peeling has stopped, and your tattoo is probably looking pretty good! But the deeper healing continues:
What’s Still Happening Under the Surface
- Deeper layers of skin are still repairing
- The tattoo may still appear slightly cloudy or dull
- Some scabs might remain in detailed areas
Ongoing Care
- Continue moisturizing daily
- Gradually resume normal activities, but still be gentle with the area
- Begin sun protection if the tattoo will be exposed (SPF 50+ only!)
- Still avoid soaking in water until fully healed (quick showers are fine)
Products That Should Never Touch Your Healing Tattoo
Save yourself some trouble and keep these far away from your new ink:
- Scented lotions/soaps – fragrances can irritate healing skin
- Petroleum jelly – seals too tightly and can draw ink out
- Alcohol-based products – dries skin excessively and irritates
- Hydrogen peroxide – too harsh and can fade ink
- Neosporin – actually prevents certain tattoos from healing properly
- Scrubs or exfoliants – way too abrasive for healing skin
- Sunscreen – but only during healing; afterward, it’s essential!
Red Flags: When to Call Your Artist or Doctor
While minor redness and swelling are normal, these signs warrant attention:
Call Your Artist If:
- Your tattoo looks noticeably faded after healing
- Large amounts of ink seem to be coming off during healing
- You’re unsure if the healing process is progressing normally
Call a Doctor If:
- The redness spreads significantly beyond the tattooed area
- The area feels hot for more than 2-3 days
- You develop a fever
- Green or yellow pus appears
- Red streaks extend from the tattoo
- The pain increases instead of decreases
Long-Term Care: Keeping Your Tattoo Looking Fresh for Years
Once fully healed, your tattoo care routine gets much simpler but remains important:
Daily Care
- Moisturize regularly – well-hydrated skin displays tattoos better
- Sun protection always – UV rays are tattoo enemy #1
- Gentle exfoliation once fully healed helps colors pop
Lifestyle Factors That Affect Tattoo Longevity
- Hydration – drink your water! Dehydrated skin = dull tattoos
- Weight fluctuations – significant weight changes can distort tattoos
- Smoking – restricts blood flow and can make tattoos heal poorly and age faster
- Tanning – fades tattoos dramatically faster than anything else
Seasonal Tattoo Care Tips
Different seasons bring different challenges for tattoo care:
Summer
- Apply SPF 50+ sunscreen every 2 hours on exposed tattoos
- Consider UPF clothing for extra protection
- Rinse chlorine off promptly after swimming
Winter
- Combat dry winter skin with richer moisturizers
- Consider adding a vitamin E oil supplement to your routine
- Wear non-irritating fabrics over fresh tattoos
Travel Considerations
- Pack mini versions of your tattoo care products
- Be extra diligent with sun protection in tropical locations
- Avoid getting fresh tattoos right before beach vacations
Tattoo Touch-Ups: Sometimes They’re Necessary
Even with perfect aftercare, sometimes touch-ups are needed:
When to Consider a Touch-Up
- If certain areas healed lighter than others
- If lines appear broken or patchy
- If color isn’t uniform throughout
Touch-Up Etiquette
- Most artists offer free touch-ups within a certain time period (typically 3-6 months)
- Be honest about your aftercare if something didn’t heal correctly
- Understand that certain spots (like hands/feet) often need touch-ups due to lifestyle factors
Specialized Aftercare for Different Tattoo Types
Different styles might require slightly different approaches:
Fine Line Tattoos
- Extra care to prevent blowouts since delicate lines can easily blur
- Very gentle cleansing to avoid disrupting thin lines
- Consider a second opinion before using heavy ointments which can pull ink
Black & Gray/Shading Work
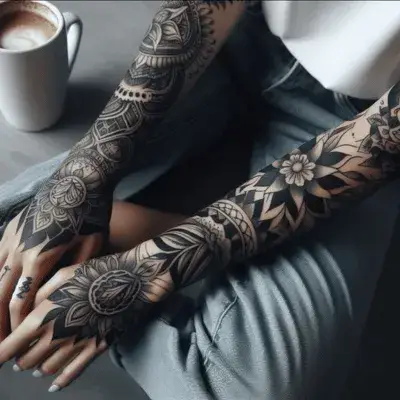
- May appear to lose more definition during healing
- Might look spotty during peeling phase
Color Tattoos
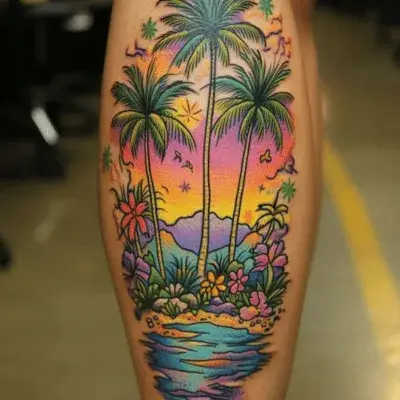
- Colors may need slightly longer to settle and appear vibrant
- Reds and yellows sometimes require touch-ups more often than other colors
- Sun protection is especially crucial for preserving vibrant colors
The Bottom Line
Great tattoo aftercare isn’t complicated, but it does require consistency and attention. The extra effort during those first few weeks pays off with decades of vibrant, clear artwork that you’ll be proud to show off!
Remember the golden rules:
- Keep it clean
- Moisturize appropriately
- No scratching or picking
- Protect from sun
- Be patient during the ugly phases
Your future self will thank you for taking these simple steps to preserve your awesome new ink!